How to Build a DIY Vertical Hydroponic Tower on a Budget (Step-by-Step with Materials List)
Building your own vertical growing system saves money and space while letting you grow fresh produce year-round. Many people start with this project to enjoy homegrown herbs and greens without the high cost of store-bought kits.
Why a Vertical Tower Works Well on a Budget
A vertical design multiplies your growing space in a small footprint. You can set one up for under $150 using parts from hardware stores and basic tools most households already have. The structure uses gravity to move water, cutting down on pumps and electricity compared to flat systems.
People often compare this method to traditional soil gardening and notice faster growth with fewer pests. One helpful resource for getting started with different plant choices is this post on plant selection at verticalhydrotower.com.
Materials List
Gather everything before you begin so the project flows smoothly. Prices vary, but buying generic brands keeps the total low.
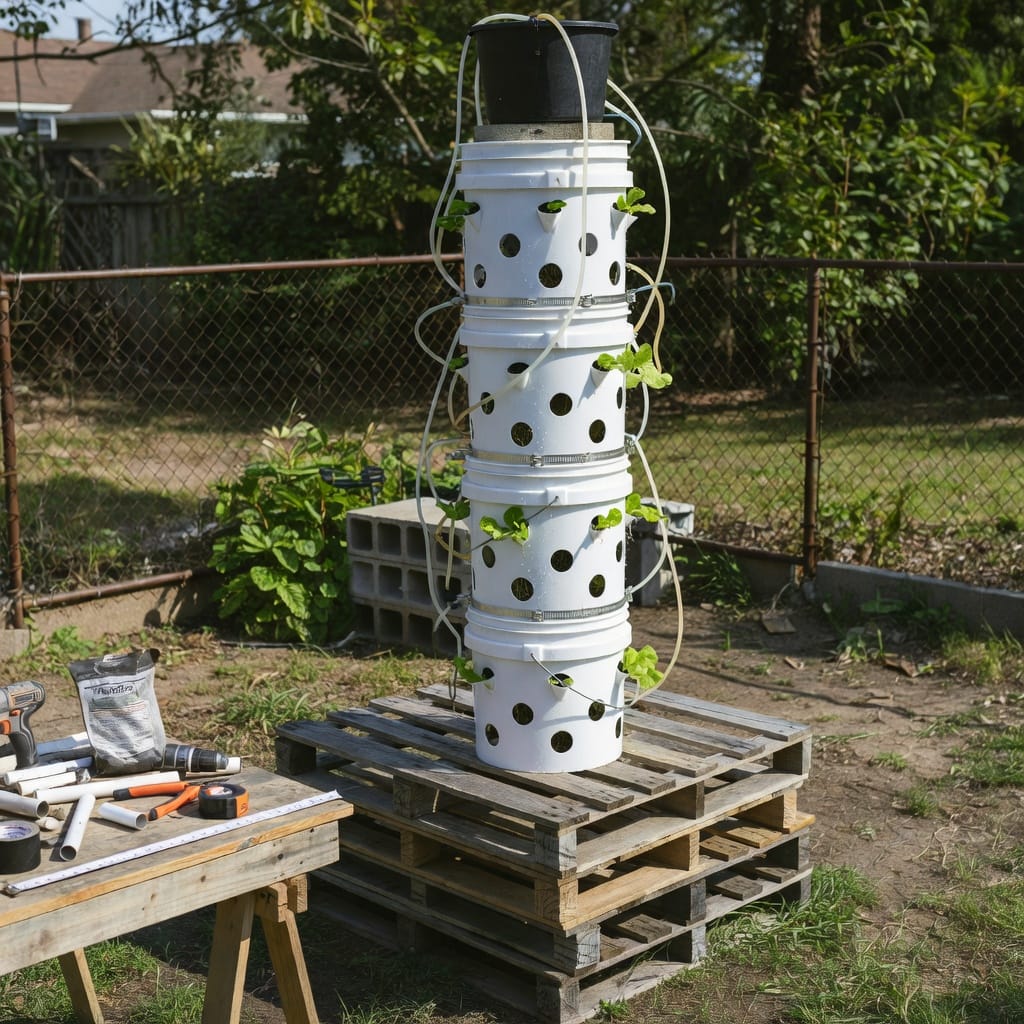
- 4-inch PVC pipe, about 6 feet long
- 2-inch PVC end cap
- Submersible water pump rated for at least 150 gallons per hour (buy a reliable model here)
- 2-inch net pots, 12–16 pieces (order these here)
- Hydroponic nutrient solution concentrate (grab this starter kit on Amazon)
- Rockwool cubes or clay pebbles for growing medium
- Silicone sealant, zip ties, and a plastic storage bin for the reservoir
- Drill with hole saw bits, measuring tape, and a hacksaw
Check your local home improvement store for the PVC to avoid shipping fees on heavy items.
Planning Your Tower Height and Location
Decide on the final height based on where it will sit. Most beginners choose a 5- to 6-foot tower that fits under standard ceilings or on a balcony. Place it near a south-facing window or under inexpensive grow lights for 12–14 hours of light daily. Make sure the spot stays above 60°F so the water temperature stays stable.
Cutting and Drilling the Pipe
Mark even spacing on the PVC pipe for planting holes. Space them 8 inches apart in a spiral pattern around the pipe. Use the hole saw to cut 2-inch openings at a slight upward angle. This keeps the net pots from falling out later. Sand any rough edges so roots glide in easily during transplanting.
Setting Up the Reservoir and Pump
The plastic bin holds the nutrient water at the base. Cut a lid that fits snugly around the tower pipe. Drop the pump into the bin and run its power cord out through a small notch. Attach a short length of tubing to the pump and feed it up inside the tower. The University of Minnesota Extension offers solid guidance on balancing nutrient levels for beginners at https://extension.umn.edu/hydroponics.
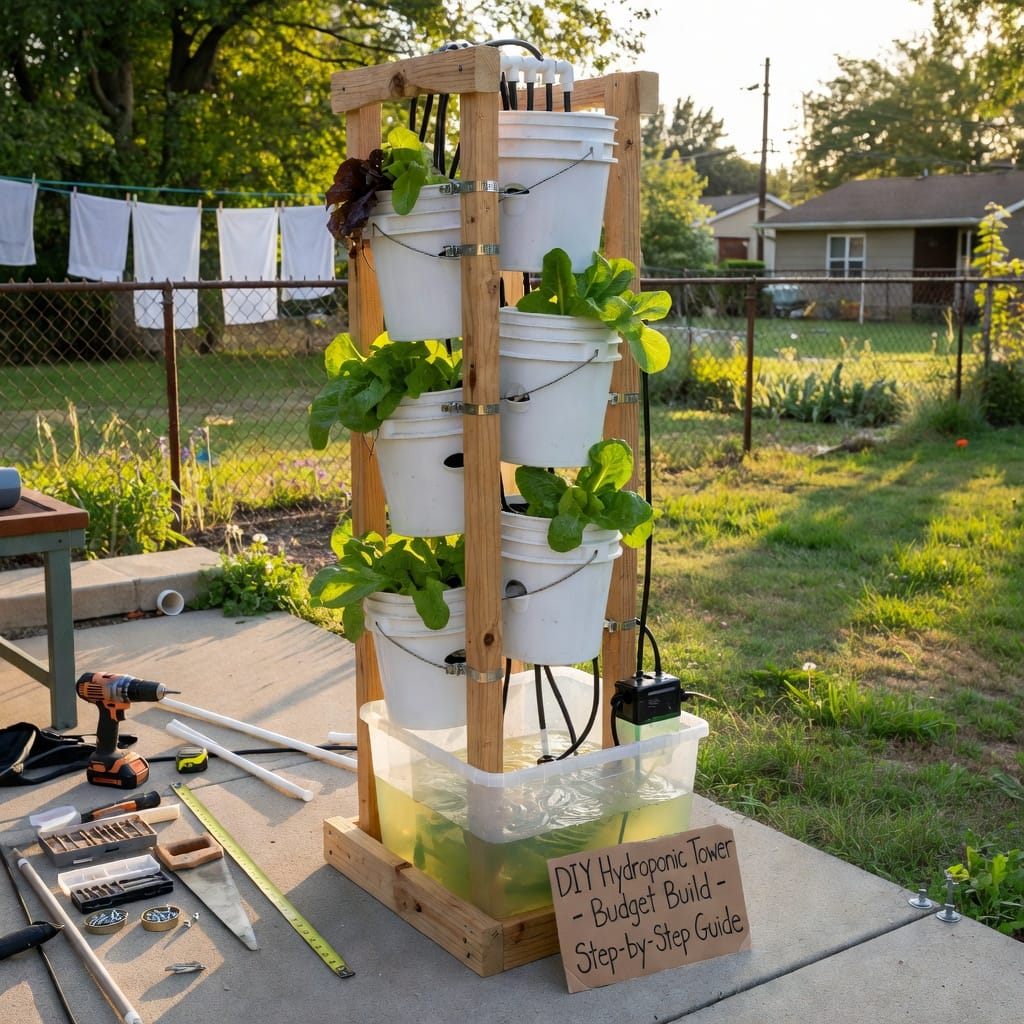
Assembling and Sealing the Tower
Slide the end cap onto the bottom of the pipe. Run a bead of silicone around the base where it meets the lid to prevent leaks. Secure the pipe upright with zip ties or a simple frame made from leftover wood. Fill the reservoir with clean water and plug in the pump to test circulation before adding nutrients.
Adding the Growing Medium and Planting
Soak your rockwool cubes overnight, then place one inside each net pot. Start seeds in the cubes or transplant small plants you bought from a nursery. Lower each pot into the drilled holes. Begin with leafy greens like lettuce, kale, and herbs because they tolerate beginner mistakes better than fruiting crops.
Starting the Nutrient Flow
Mix nutrients according to the bottle directions using room-temperature water. Fill the reservoir until the pump sits fully submerged. Turn it on and adjust the flow so water gently trickles from the top and runs back down through each level. Aim for a cycle of 15 minutes on, 45 minutes off, using a simple timer.
Daily and Weekly Maintenance
Check water level every other day and top off as needed. Change the full solution every 7–10 days to keep pH and nutrients balanced. Wipe the outside of the tower occasionally to prevent algae. Harvest outer leaves first so the plants continue producing.
Scaling Up After Your First Success
Once the system runs smoothly, many growers add a second tower next to the first. You can connect both to the same reservoir by running extra tubing. This approach keeps costs low while doubling your harvest without needing more floor space.
Watch for common issues such as clogged holes or drifting pH and fix them quickly. Over time you will learn exactly how much light and food each crop prefers. The result is a reliable source of fresh produce that pays for itself within a few growing cycles.