Hydroponic Tower Setup for Beginners: Complete Starter Guide 2026
Getting into vertical growing can feel overwhelming at first, especially if you’re new to soilless methods. A hydroponic tower setup for beginners removes much of the guesswork by stacking plants in a compact column that uses nutrient-rich water instead of dirt. This approach saves space and often delivers faster growth when set up correctly.
Many people start with these systems because they fit on balconies, patios, or even indoor corners. With the right parts and basic care, you can harvest leafy greens within weeks.
Why Choose a Vertical Tower System
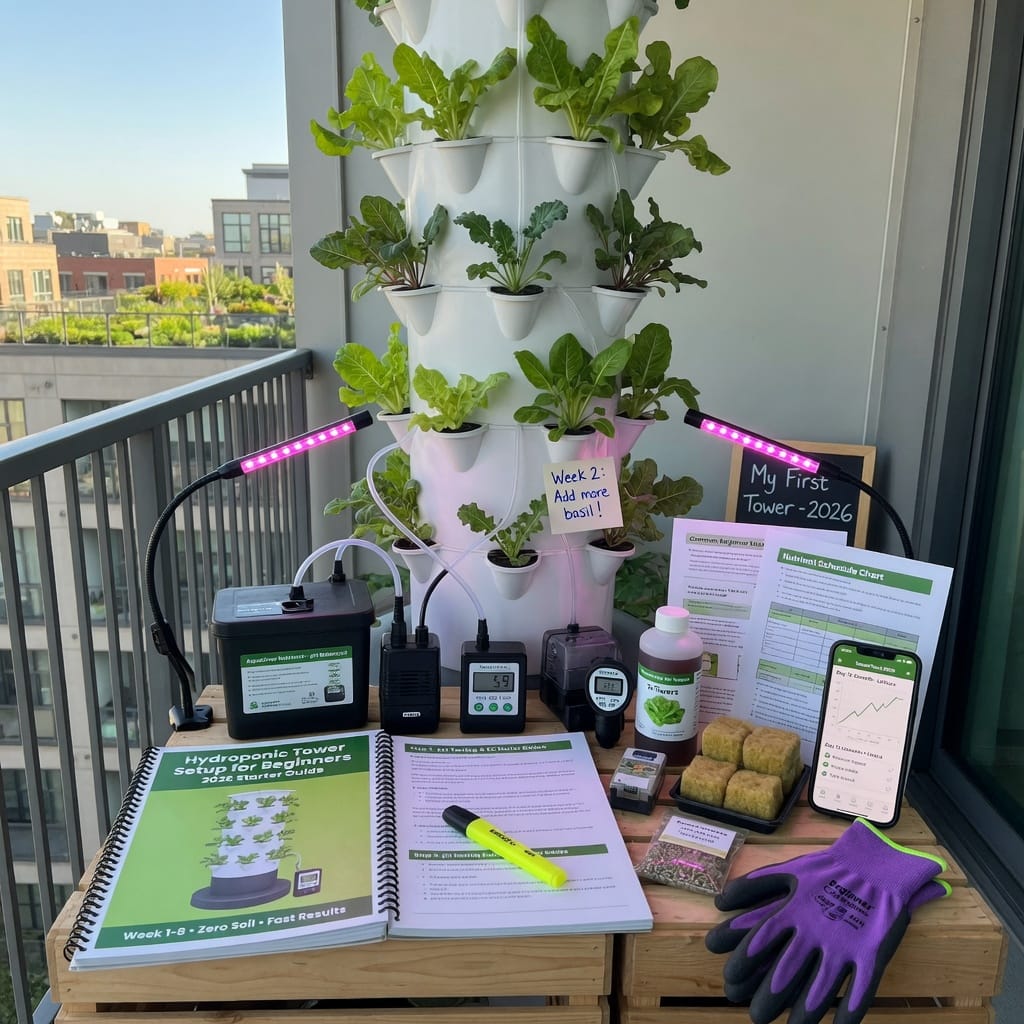
Vertical towers keep everything organized in one tall unit. Roots sit in channels or cups while water circulates from a bottom reservoir. Gravity and a small pump do the heavy lifting, so you spend less time weeding or hauling soil.
This method also uses up to 90 percent less water than traditional gardening. For apartment dwellers or anyone short on yard space, the design makes sense.
If you’re comparing options, check out the systems discussed over at https://verticalhydrotower.com/ for real-world examples that match beginner needs.
Essential Parts for Your First Setup
Start simple. Most starter kits include these items:
– A tall tower column with planting ports
– A submersible pump rated for continuous use
– A reservoir tank, usually 5 to 20 gallons
– Net cups or grow plugs
– Clay pebbles or rockwool cubes to support roots
– Basic nutrient solution formulated for hydroponics
You can buy the pieces separately or grab a ready kit. Look for pumps that move at least 100 gallons per hour to keep water moving steadily.
Step-by-Step Assembly
Place the reservoir on a flat, level surface near an outlet. Set the tower column directly on top and secure it with any included clips or seals. Drop the pump into the reservoir and run the tubing up through the center channel.
Fill the net cups with your chosen media, then insert them into the ports. Add water and nutrients according to the label directions, usually starting with a mild concentration. Plug in the pump and let it run for a few minutes to check for leaks.
Test the flow before adding plants. Water should reach every level and drain back evenly.
Choosing and Starting Your Plants
Leafy greens like lettuce, kale, and spinach do well in towers. Herbs such as basil and cilantro also thrive. Avoid heavy fruiting plants until you gain experience.
Begin seedlings in rockwool cubes or starter plugs. Once roots show through the bottom, move them into the net cups. Give young plants a gentle nutrient solution at first, then increase strength as they grow.
Daily and Weekly Care Routine
Check water levels every day or two. Evaporation happens faster in warm rooms. Top off with plain water between full changes.
Replace the full nutrient mix every one to two weeks. This prevents salt buildup that can harm roots. Use a simple pH meter to keep levels between 5.5 and 6.5.
Watch for pests like aphids on new growth. A quick spray of insecticidal soap usually handles early problems. Keep the area clean to limit algae in the reservoir.
Lighting and Location Tips
Towers need bright light for six to eight hours daily. South-facing windows work in summer, but most indoor setups benefit from full-spectrum LED grow lights hung above the tower.
Place the system away from heating vents or cold drafts. Stable temperatures between 65 and 75 degrees Fahrenheit help most leafy crops.
Scaling Up After the First Harvest
Once your first round succeeds, add a second tower or expand the reservoir size. Many growers link multiple columns to one larger pump for bigger yields.
Track what grows best in your space. Some varieties bolt quickly in heat while others stay productive longer.
Common Mistakes to Avoid
Overfeeding nutrients is the top issue for new users. Start at half strength and watch how plants respond. Yellow leaves often mean too much or too little of a specific element.
Skipping regular water changes leads to cloudy reservoirs and weak growth. Set a calendar reminder so you stay consistent.
Finally, make sure the pump stays submerged. Running it dry burns it out fast.
For more background on hydroponic methods, the University of Minnesota Extension offers clear fact sheets at https://extension.umn.edu/hydroponics. Their resources pair well with hands-on tower experience.
Stick with these basics and your hydroponic tower setup for beginners will produce steady harvests throughout the year. Small adjustments based on what you observe will improve results faster than any single gadget.