As an Amazon Associate I earn a small commission from qualifying purchases made using links from this website.
Have you ever gazed at a barren corner of your balcony or kitchen and thought, “What if I could turn this into a lush, productive farm?” Well, buckle up because setting up a vertical hydroponic tower is the game-changer you’ve been waiting for. This isn’t just about growing plants—it’s about revolutionizing your space with a sleek, efficient system that pumps out fresh greens, herbs, and even fruits without the mess of soil or the limitations of traditional gardening.
If you’re tired of store-bought produce that’s traveled thousands of miles, or if space constraints have kept you from gardening, a vertical hydroponic tower setup is your ticket to self-sufficiency. In this ultimate guide—the most in-depth resource you’ll stumble upon online—we’ll break down everything from choosing components to troubleshooting quirks, empowering you to create a thriving vertical hydroponic tower setup that’s tailored to your life.
Whether you’re in a cozy San Francisco apartment or a suburban backyard, this setup promises year-round harvests with minimal effort. Let’s jump in and build something extraordinary.
A vertical hydroponic tower setup harnesses the power of soilless growing, stacking plants upward to save space while delivering nutrients directly to roots via water. This method isn’t new—ancient civilizations dabbled in similar techniques—but modern vertical hydroponic tower setups make it accessible for everyone.
Why go vertical? It maximizes efficiency: imagine 50 plants in just 2 square feet. Water recirculates, slashing usage by 90%, and growth speeds up by 30-50% compared to soil. For urban dwellers, a vertical hydroponic tower setup fits seamlessly indoors or out, dodging weather woes and pests. Sustainability fans love it for reducing food waste and carbon footprints.
If you’re new to hydroponics, starting with a vertical hydroponic tower setup is smart—it’s scalable, forgiving, and visually appealing. Think of it as your personal edible skyscraper.
Horizontal hydroponics works fine, but a vertical hydroponic tower setup shines in tight spaces. Traditional gardens demand land; this stacks upward, ideal for apartments or patios. Energy-wise, gravity aids nutrient flow, cutting pump runtime. Yields soar—expect weekly salads from one tower.
Cost? A basic vertical hydroponic tower setup runs $100-300 DIY, versus $500+ for kits. Health benefits abound: homegrown veggies pack more nutrients, free from pesticides. For families, it’s educational—kids learn science while harvesting. In climates like California’s mild winters, outdoor vertical hydroponic tower setups thrive, but indoors with LEDs, it’s year-round. The setup’s modularity lets you start small and expand, making vertical hydroponic tower setup a flexible choice.

Not every vertical hydroponic tower setup is identical. Pick based on space, budget, and plants. Common types:
PVC pipes form the backbone of many DIY vertical hydroponic tower setups. Drill holes for plants, stack or stand alone. Pros: Cheap, durable. Cons: Needs sealing to prevent leaks. Great for beginners crafting a vertical hydroponic tower setup at home.
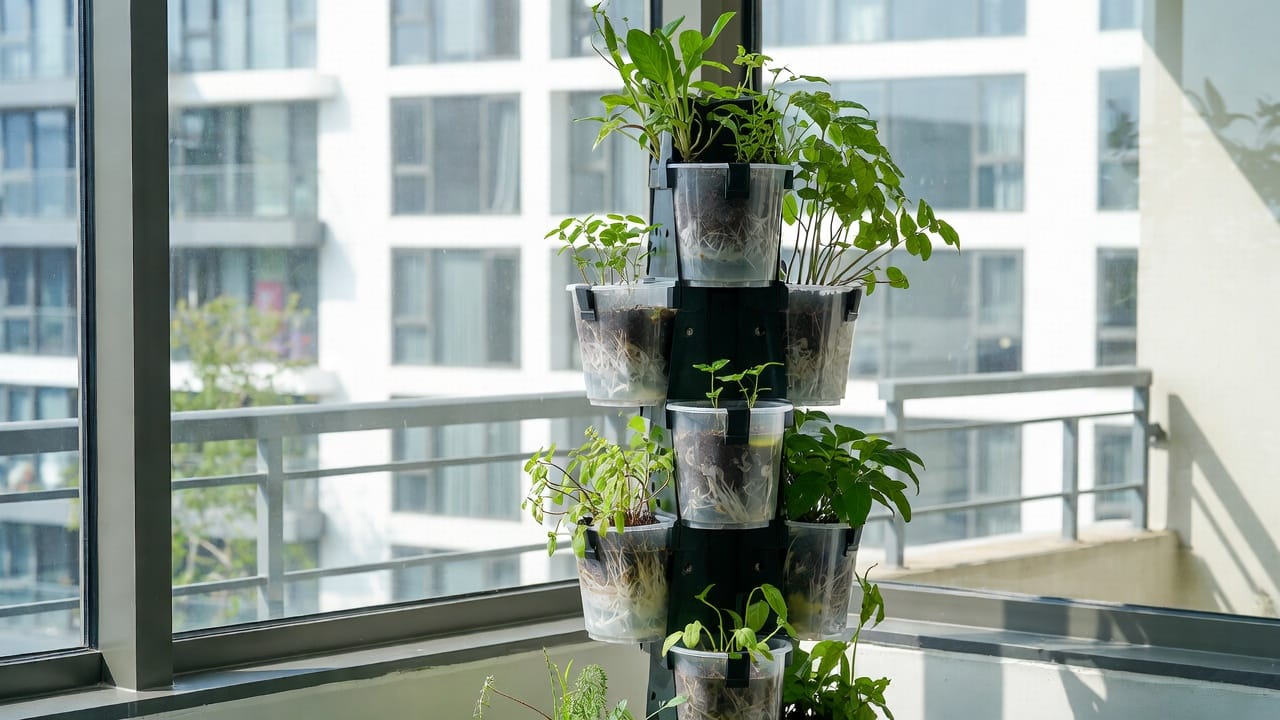
Use nested pots with a central reservoir. Nutrients drip down. In a vertical hydroponic tower setup like this, it’s plug-and-play. Pros: Easy assembly. Cons: Less plant density. Suited for herbs in small vertical hydroponic tower setups.
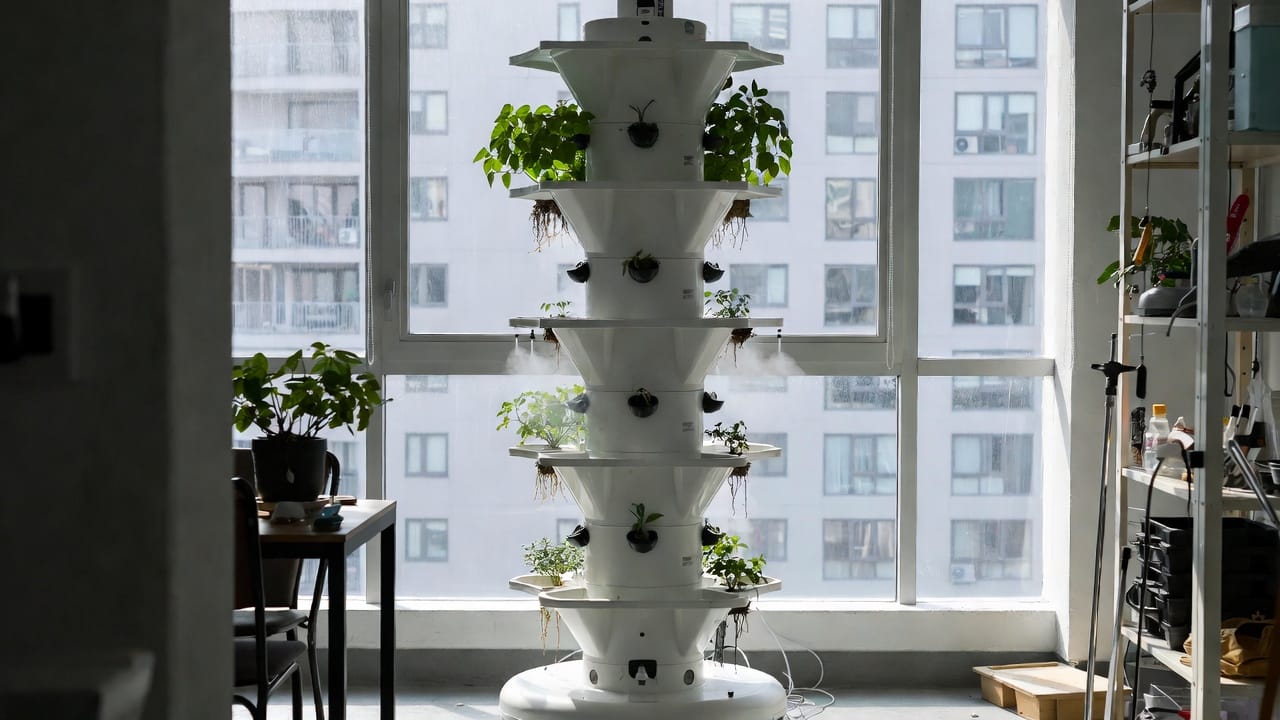
Mists roots with nutrients—no medium needed. Advanced vertical hydroponic tower setups use high-pressure pumps. Pros: Fast growth, water savings. Cons: Prone to clogs. Ideal if your vertical hydroponic tower setup aims for max yields.
Pre-drilled units stack like Lego. For a professional vertical hydroponic tower setup, these offer ease. Pros: Quick install. Cons: Higher cost. Blend with DIY for hybrid vertical hydroponic tower setups.
Assess your goals—quick greens? Go PVC. Experiment? Try aeroponic in your vertical hydroponic tower setup.
Success in a vertical hydroponic tower setup hinges on quality parts. Here’s what you’ll need:
Tower Structure: PVC pipe (4-6 inch diameter, 5-8 feet tall) for the frame. Try the FORMUFIT 4″ PVC Pipe for sturdy builds.
Pump and Tubing: Circulates nutrients. The VIVOSUN 800GPH Submersible Pump handles most vertical hydroponic tower setups reliably.
Reservoir: 10-20 gallon base. Plastic totes work.
Net Pots and Medium: Hold plants. Hydrofarm 2″ Net Pots pair with clay pebbles.
Nutrients: Balanced mix like General Hydroponics Flora Series.
pH Kit: Maintain 5.5-6.5. General Hydroponics pH Control Kit is essential.
Lights (Indoor): Spider Farmer SF-1000 LED Grow Light for even coverage.
Timer and Sensors: Automate flow.
These items ensure your vertical hydroponic tower setup runs smoothly—invest wisely.
Let’s get practical. This walkthrough for a PVC vertical hydroponic tower setup serves 20-30 plants.
Measure space—4-6 feet tall fits most. Tools: Drill, hole saw (2-3 inch), PVC cement, tape measure. Sketch your vertical hydroponic tower setup for hole placement.
Cut PVC to height. Mark staggered holes every 8 inches. Drill carefully—smooth edges. Cap bottom, add top inlet for nutrients in your vertical hydroponic tower setup.
Secure pipe vertically on a stand or wall mount. Place reservoir below. Stability prevents tips in active vertical hydroponic tower setups.
Connect pump to tubing, run up pipe. At top, use a manifold for even drip. Test flow—adjust for 1-2 liters/min in your vertical hydroponic tower setup.
Insert net pots, fill with medium. Transplant seedlings—roots dangle. For best results in vertical hydroponic tower setups, start with hydro-friendly varieties.
Fill reservoir, add nutrients (EC 1.0-2.0). Adjust pH, set timer (15 min on, 45 off). Monitor first days—your vertical hydroponic tower setup is live!
For plant picks, see Best Plants for Vertical Hydroponic Systems.
Fine-tune post-assembly. Lighting: 12-16 hours daily, position LEDs around tower. Airflow: Fans prevent mold in humid vertical hydroponic tower setups. Nutrient tweaks: Veg phase high nitrogen, bloom high potassium. Rotate tower for even sun. Automation: Add EC meters for precision in advanced vertical hydroponic tower setups.
Explore upgrades in Advanced Hydroponic Techniques.
Keep it thriving: Check pH/EC daily, top off water. Weekly: Flush to clear salts, inspect roots. Clean pumps monthly—prevents clogs in vertical hydroponic tower setups. Prune for airflow. Consistent care yields bounties.
More tips at Maintaining Your Hydroponic Garden.
Leaks? Seal joints better. Wilting? Boost pump flow. Algae? Opaque materials. Nutrient deficiencies show in leaves—adjust mixes. Pests? Neem oil works. Address early for healthy vertical hydroponic tower setups.
Start with one, add more. Cluster for farms. Go commercial with multiples. Track costs—savings add up in expanded vertical hydroponic tower setups.
Eco-perks: Recycled PVC, solar pumps. Organic nutrients minimize impact. Your setup cuts food miles, promoting green living.
Urban growers harvest weekly salads. Families bond over builds. One user turned a garage into a veggie haven. Inspiration abounds—your vertical hydroponic tower setup could be next.
Vertical hydroponic tower setups blend innovation with practicality, offering endless rewards. Tinker, harvest, and enjoy the fruits of your labor. Fresh, homegrown goodness is just a setup away—keep growing!
© 2026 VerticalHydroTower.com • Sustainable Hydroponic Farming