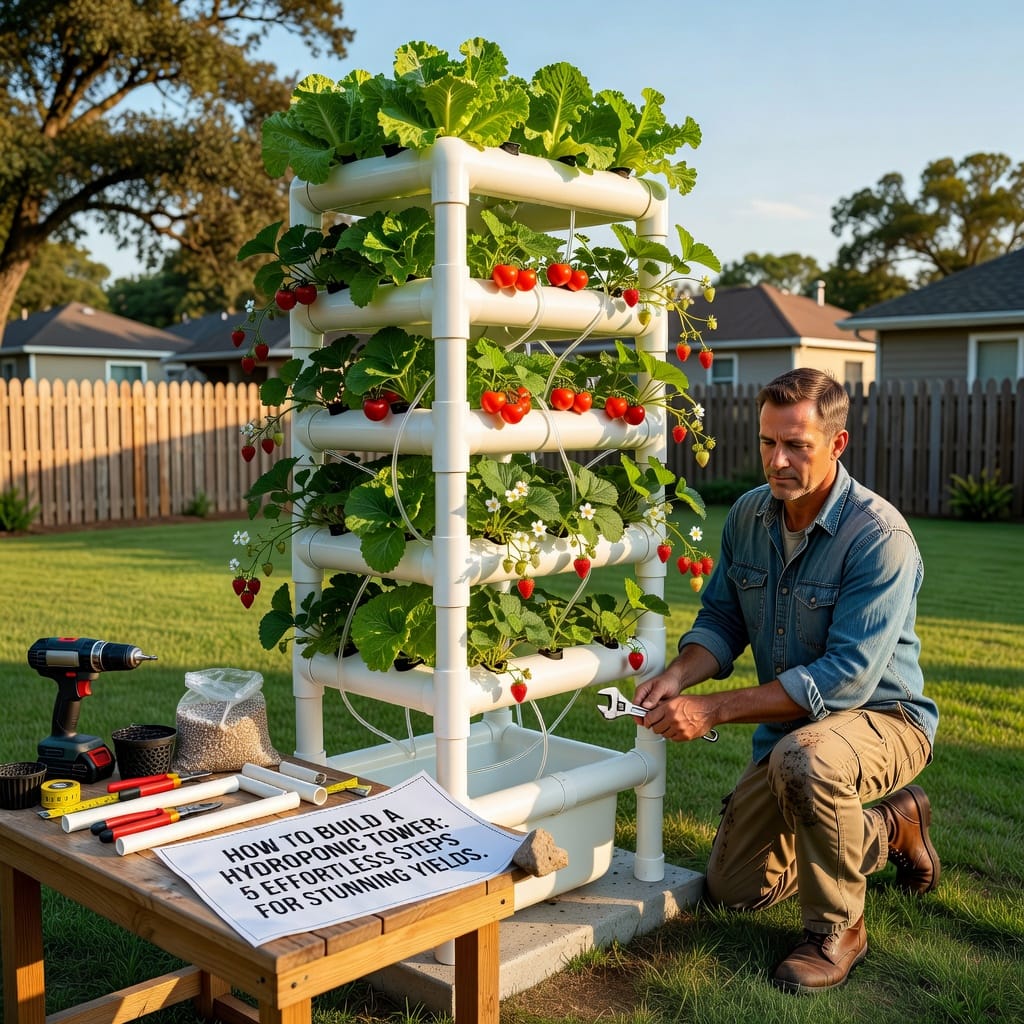
Have you ever dreamed of growing fresh veggies right in your living room without dealing with messy soil? If you’re dipping your toes into urban gardening or just want to amp up your home setup, learning how to build a hydroponic tower could be your game-changer. These vertical systems stack plants sky-high, saving space while delivering bumper crops of herbs, greens, and even fruits. No more lugging heavy pots around—everything flows with water and nutrients in a clean, efficient loop.
In this guide, we’ll walk through five straightforward steps to get you started. Whether you’re a newbie or have some garden know-how, you’ll find it approachable. By the end, you’ll have the confidence to create your own hydroponic tower that yields stunning results. Let’s dive in and see why this method is taking off for city dwellers and backyard enthusiasts alike.
Picture this: towering stacks of lush lettuce, vibrant basil, and juicy strawberries, all thriving without a patch of dirt. A hydroponic tower uses nutrient-rich water to feed plants directly to their roots, skipping soil entirely. This setup is perfect for small spaces like apartments or patios where traditional gardening just won’t fit.
One big perk is the space efficiency. Vertical design means you can grow more in less footprint—ideal if you’re tight on room. Plus, plants grow faster in hydroponics, often 30-50% quicker than soil methods, because they get exactly what they need, when they need it.
Water use drops dramatically too, recycling the same supply over and over. That’s a win for the planet and your water bill. And let’s not forget pest control—fewer bugs means less hassle with sprays or worries about contaminated soil.
If you’re curious about the basics before jumping into how to build a hydroponic tower, check out our beginner’s guide to hydroponics. It covers the fundamentals to set you up for success.
Before we get to the steps on how to build a hydroponic tower, let’s talk supplies. You don’t need fancy equipment to start; many items are affordable and easy to source. Aim for quality to avoid leaks or breakdowns down the line.
Start with the tower itself. PVC pipes or ready-made vertical kits work great. For a DIY vibe, grab 4-6 inch diameter PVC tubes, cut to your desired height—say, 5-6 feet for a starter tower.
You’ll need a water reservoir, like a 5-10 gallon bucket or plastic tote. A submersible pump keeps the water circulating, paired with tubing to deliver it to the top.
Nutrients are key—hydroponic formulas packed with essentials like nitrogen, phosphorus, and potassium. pH testing kits ensure your water stays balanced between 5.5 and 6.5.
Don’t forget growing media: options like clay pebbles, rockwool cubes, or coconut coir hold roots without soil. Lights come in if you’re indoors—full-spectrum LEDs mimic sunlight.
For tools, a drill, PVC cement, and zip ties will do most jobs. Budget around $100-300 depending on scale. If you’re eyeing a pump, this EcoPlus Submersible Water Pump on Amazon is reliable and moves up to 396 GPH—perfect for small towers.
Pro tip: Sketch your design first. Measure your space to ensure the tower fits without crowding.
The first move in how to build a hydroponic tower is all about planning. Rushing this can lead to wobbly structures or poor plant flow, so take your time.
Decide on your tower’s height and width. A 4-5 foot tower suits most beginners, holding 20-30 plants. Consider your light source—natural sun for outdoors, LEDs for inside.
Think about plant types. Leafy greens like kale or spinach thrive in towers, while tomatoes might need extra support. Group similar plants together for even watering.
Map out the water path. In a basic NFT (nutrient film technique) setup, water trickles down from top to bottom, nourishing roots along the way. For aeroponics, misters spray roots periodically.
Location matters too. Aim for spots with 6-8 hours of light daily. Indoors? Keep temps between 65-75°F. Outdoors, shelter from harsh winds.
Jot it down—maybe on paper or an app. This blueprint saves headaches later. If you’re tweaking nutrients, our guide on hydroponic nutrient solutions has tips to match your plan.
Planning isn’t glamorous, but it’s the foundation for those stunning yields you’re after.
Now we’re getting hands-on with how to build a hydroponic tower. Assembly is like Lego for gardeners—satisfying and straightforward.
Begin with your PVC pipes. Cut sections for the main column and horizontal arms if you’re going multi-level. For a simple tower, stack pre-cut pipes or use a vertical stand.
Drill holes strategically. Space them 8-12 inches apart around the pipe’s circumference. Each hole should fit your net pots—about 2-3 inches wide. These pots cradle plants and let roots dangle into the water stream.
Secure everything. Use PVC elbows or tees for branches, gluing with cement. For stability, mount on a wooden base or wall bracket. Zip ties or clamps hold arms in place.
Attach the reservoir at the base. Position your pump inside, connected to tubing that runs up the tower’s core. Test for leaks by running water through—no surprises later.
If you’re using a kit, this step simplifies. But DIY lets you customize. For growing media, this Hydroton Clay Pebbles pack on Amazon is lightweight and pH neutral, ideal for root support.
Stand back and admire—your skeleton is ready for life.
Water is the lifeblood here, so nailing how to build a hydroponic tower‘s plumbing is crucial. Get this right, and your plants will drink happily.
Fill the reservoir with fresh water—RO or filtered works best to avoid minerals. Mix in your hydroponic nutrients per the label. Start at half strength for young plants to prevent burn.
Install the pump and timer. Set it to run 15 minutes on, 45 off for drip systems—adjust based on your setup. Tubing should deliver water evenly from top holes down.
Add an air stone for oxygenation if you’re not using a high-flow pump. Roots need dissolved oxygen to avoid rot.
Monitor pH and EC (electrical conductivity) daily at first. Use a digital meter for accuracy. Adjust with up or down solutions as needed.
For external insights, the University of Arizona’s hydroponics extension offers solid science on nutrient balance—worth a read if you’re fine-tuning.
Test the cycle: Water should reach every level and return to the reservoir clean. Tweak flow if some plants get parched.
This step ensures efficiency, cutting waste and boosting growth.
With structure in place, it’s planting time in how to build a hydroponic tower. This is where the magic starts—watching seeds sprout into abundance.
Choose seedlings or clones over direct seeds for quicker results. Start them in rockwool cubes under a humidity dome if needed.
Gently place plants into net pots filled with media. Roots should peek out the bottom, ready for the water film. Pack loosely to avoid compaction.
Space them thoughtfully— one plant per hole, varying heights for aesthetics and light access. Quick-growers like lettuce go higher up.
Water immediately after planting to settle everything. Introduce full nutrients gradually over a week.
Incorporate beneficial bacteria or mycorrhizae for root health. A good starter fertilizer? Try this General Hydroponics Flora Series on Amazon—it’s a three-part system trusted by pros for balanced feeding.
Watch for the first signs of growth. It’s rewarding to see your tower come alive.
The final push in how to build a hydroponic tower ties it all together: light, vigilance, and reaping rewards.
For indoor setups, hang LED lights 12-18 inches above the top. Use 20-40 watts per square foot, on 14-16 hours daily. Timers automate this.
Outdoors, rotate the tower for even sun exposure. Shade cloth helps in hot climates.
Monitor daily: Check water levels, pH, and plant health. Yellow leaves? Could be nutrient imbalance—adjust accordingly. Prune dead bits to keep airflow.
Pests are rare but possible. Neem oil spray works gently if aphids show up.
Harvesting is the best part. Snip outer leaves of greens for continuous yield—towers can produce for months. Strawberries? Pick ripe ones weekly.
Scale up as you learn. Your first tower might yield 10-20 pounds of produce per season—stunning for minimal effort.
Once built, how to build a hydroponic tower shifts to care. It’s low-fuss, but consistency pays off.
Top off the reservoir weekly, changing full solution every 1-2 weeks to prevent buildup. Clean pumps monthly to avoid clogs.
Track growth with a journal—notes on pH swings or yields help refine your system.
Temperature control: Fans for air circulation, heaters if nights dip low.
Seasonal tweaks: More water in summer, less in winter.
If issues arise, like algae, black out light to the reservoir or add blockers. Common fixes keep things smooth.
Even pros hit snags when learning how to build a hydroponic tower. No worries—most are easy fixes.
Wilting plants? Check pump flow or root oxygen. Clogged lines? Flush with vinegar.
Nutrient lockout shows as spotted leaves—flush and rebalance pH.
Overheating? Improve ventilation or relocate.
Under-yield? Boost light or nutrients. Patience helps; hydroponics rewards attentive growers.
For deeper dives, forums and local clubs offer community wisdom.
You’ve nailed the basics of how to build a hydroponic tower—now dream bigger. Add automation like sensors for pH alerts or app-controlled pumps.
Experiment with fruits or flowers. Vertical space opens endless possibilities.
Share your harvest: Fresh salads, herbs for cooking—it’s fulfilling.
Costs drop over time as you reuse gear. Yields stun friends and cut grocery bills.
Keep learning; hydroponics evolves fast. Your tower could be the start of something green and great.
There you have it—five steps to transform your space into a yield machine. Grab those materials and get building; the fresh eats await.